Tuesday, February 28, 2012

Spicy Saucy Beef


Take-out Chinese food is one of those things that you really shouldn't eat, but that almost everyone loves. LSH and I are no exceptions. I make a lot of homemade stir fry, but that just isn't the same as take-out Chinese. There is something about those thick, rich sauces that makes American Chinese food so awesome. This beef recipe from Meseidy at The Noshery has that amazing sauce. The first time LSH and I had this beef our mouths just watered. It's rich, it's thick, it's savory, it's spicy, it's yummy! If you are a fan of take-out Chinese recipes, especially those with beef, you should probably try this.
The original recipe recommends frying the beef up with some corn starch, but I don't think that is necessary. I just cook it up as is. Also, the veggies in this can change. Again, the original called for green beans, but you can use whatever. LSH and I tried green beans once and it was OK but the last time I made this I used green bell pepper and carrot and it was delicious. 

Time: 20-30 minutes
Ingredients
12 ounces flank steak (or whatever cut of meat you want, I use whatever is on sale), thinly sliced
Salt
Pepper
Oil
4 Tbsp soy sauce
1 Tbsp rice vinegar
1/2 Tbsp rice wine or white wine
1 1/2 Tbsp honey
7 Tbsp brown sugar (amazing!)
1/2 Tbsp chile paste (I used Siracha)
1/4 cup water
1/2 Tbsp powdered ginger
1/4 tsp crushed red pepper
1 Tbsp sesame oil
2 cloves minced garlic
1/4 cup sliced onion
1/2 cup fresh green beans, or bell pepper, or carrot, chopped
Rice

Toss the pieces of meat with a little salt and pepper and heat a bit of oil in a pan over medium heat. Throw the meat in the pan and cook it until it has reached your desired doneness. Set the meat aside.


Now you get to whip up the delicious sauce. Mix together the soy sauce, rice vinegar, wine, and honey. Add in the brown sugar, chile paste, water, ginger, and crushed red pepper. Stir it well and set it aside.

This is what makes this dish yummy!

 In a deep skillet, or wok if you have one, heat the sesame oil over medium-high heat and saute the onion, garlic, and veggies until slightly tender.

Nom nom stir-fried veggies!

Stir the sauce mixture to make sure the sugar is mixed in and pour it on top of the veggies.


Let the sauce heat until bubbly and toss in the meat.

Let all those delicious flavors come together...

Mix up everything and let it head for another 5 minutes or until it has reached desired thickness.

Look at it bubble!
If you want it to thicken up a bit more, you can add in a dash of corn starch.

Serve this amazingness on top of some hot rice and enjoy!


Original post at http://thenoshery.com/2009/03/23/spicy-crispy-beef/

Sunday, February 19, 2012

Fake Chicken Vindaloo


I don't claim to be a food expert at all, but I know what tastes good to me and what doesn't. For those of you who are experts, good for you and don't chastise this Vindaloo recipe. I did say it was fake. For those of you who have no idea what Vindaloo is...awesome! I know you won't judge me. Regardless of how accurate this recipe is, it's tasty if you are looking for something rich and curryish. This recipes comes from The Food in my Beard and is meant to be eaten in arepas. However, LSH and I decided to eat it over rice. Eat it however you want. This Vindaloo comes together pretty quickly and can be easily adapted. The measurements I will put for this recipe are approximate. I'm pretty sure I ended up adding way more curry powder and some other assorted spices. I also added potatoes. I made this own a while ago and we decided that potatoes would make it even better and they sure did. Play with it and make it your own!

Time: 30-45 minutes
Ingredients
2 sliced onions
2 1/2 Tbsp curry powder
3-5 chiles, depending on what heat you want, sliced (I used whatever was frozen in my freezer..I think jalapenos and Thai chiles were involved...)
Ginger (the original post recommends fresh, but I used powdered) - use however much you are comfortable with
5 cloves of minced garlic
4 chicken breasts
2 cups chicken broth (or enough to cover the chicken breasts in a pan)
1-2 potatoes diced
Hot cooked rice

Start with a deep skillet with a bit of olive oil over medium heat. Toss in the onions and soften them. As delicious as caramelized onions are, don't let them get to this point. Add in the curry powder, chiles, ginger, and garlic. Cook for 2-3 minutes until everything is softened and mixed. Throw the whole mixture in a food processor or blender and transform it into a paste. It's ok if there are still some chunks. It's up to personal preference. At this point you can try it and see if it needs more of something.

Sear both sides of the chicken breasts in the skillet. Add in the paste and cook for about 2 minutes still over medium heat. Pour in the chicken broth until the chicken is covered. You might use all of the 2 cups, you might need more, you might need less. Just cover those breasts... Stir it all around until the sauce smoothens out.


Add in the potatoes and simmer the lovely mixture until the chicken is completely cooked through and the taters are soft.


Add this point you can do what you want with the chicken. I took it out, shredded it, and then tossed it back into the sauce and we ate it over rice. Deliciousness...


Original post at http://www.thefoodinmybeard.com/2011/01/chicken-vindaloo-arepa.html

Tuesday, February 7, 2012

One of My Favorite Pizza Doughs

I am a pizza-lover. I could probably eat pizza of some sort everyday. Crust pizza, tortilla pizza, greasy take-out pizza, french bread pizza, English muffin pizza, dessert pizza, fruit pizza, etc. I think you get the point. LSH and I have some kind of pizza at least once per week. Eating that much take-out pizza can get old and expensive and some times you need more than a tortilla pizza. My minor obsession with making homemade pizza started when my brother gave me a cast iron pizza stone, yeast, an uber ulu, and a couple recipes for trustworthy pizza dough. Since then I have tried at least 6 different pizza dough recipes with intent to try even more. This herby dough, from MommieCooks, has become a favorite of mine. The best thing about this dough is that it only requires a short rest and comes together very quickly. Dough that rests all day or overnight typically has a better texture, but this is great when you decide at 5:00 pm that pizza sounds good for dinner. The dough makes a decent size crust if rolled out at normal thickness or two good size pizzas if rolled out nice and thin.

Time: 60 minutes
Ingredients
1 cup warm water
1 pkg yeast or 2 1/4 tsp (I use active dry yeast)
1 Tbsp sugar
3 Tbsp olive oil
1 tsp salt
3 cloves minced garlic
1 tsp basil
1/2 tsp onion powder
2 1/2 cups flour

Preheat your oven to 425 and if you have a pizza stone, throw it in as well.

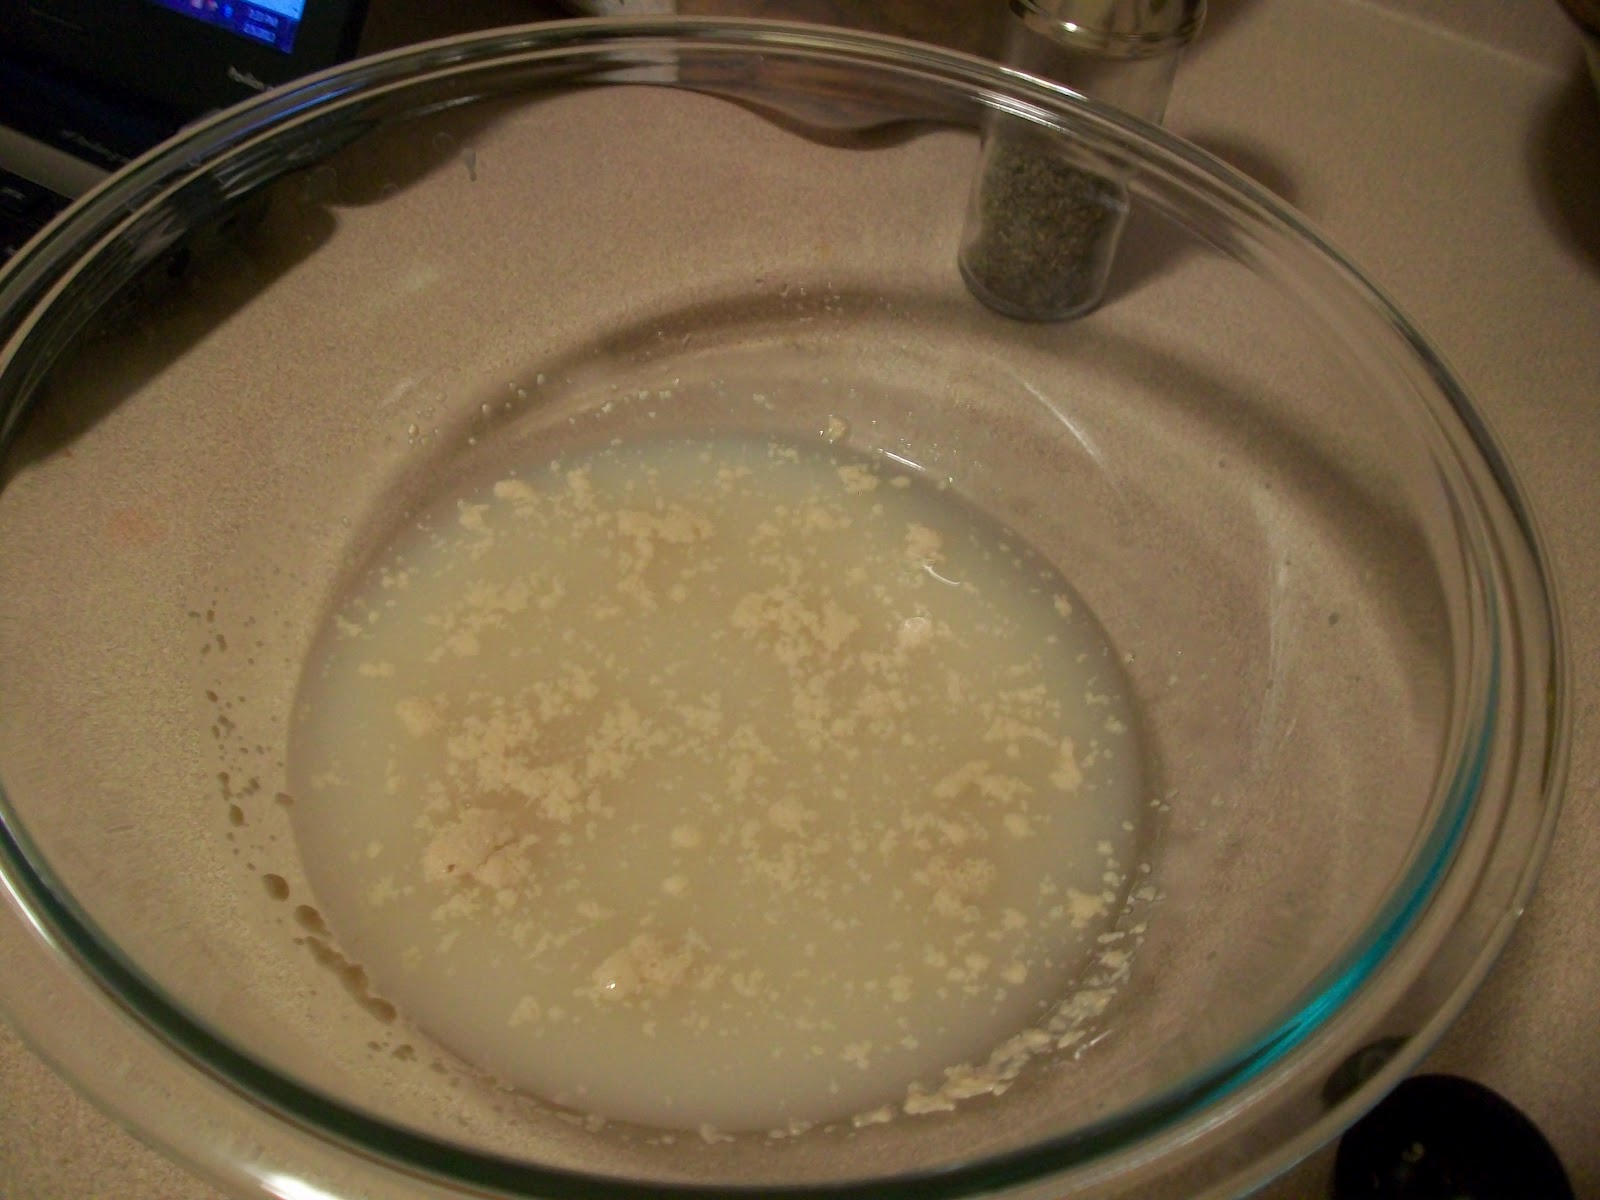
Dissolve the sugar in the warm water and mix in the yeast. Let this sit for about 10-15 minutes. This is to wake up the yeast. I don't think I would wake up very happy if I was swimming in water but I guess this is what they like.


Add in the oil, salt, garlic, basil, and onion powder.

Add in the flour in portions. You can mix this in a stand mixer with a dough hook, but it also comes together well with a wooden spoon and a bit of hand kneading. When I've had a stressful day at work I like recipes that require kneading. Good stress relief.

Once the flour is all mixed in, let the dough rest for about 10 minutes.

I roll out the dough on parchment paper sprinkled with corn meal. The corn meal is optional, but I kind of like the addition. Roll the dough out to your desired thickness. Before putting it in the oven stab the crust all over with a fork. This is also great stress relief. Another optional step is drizzling the crust with olive oil. I'm a big fan of olive oil and use it pretty frequently. Once you have done all this, stick the crust in the oven. To get the crust to the oven, I slide the parchment onto a cookie sheet to transfer it to the stone in the oven. I gently slide the parchment from the sheet to the oven. So far I have never dropped it!

Before...

After! Notice the slightly browned edges.

Let it pre-bake for 7-10 minutes or until it starts to get golden. Slide the paper out again and top it with your favorite toppings. LSH is a pepperoni and green pepper fan and I like the addition of mushrooms. Also, if you have never tried caramelized onions on pizza, you should try it. Turkey pepperoni is also a good alternative to the regular stuff if you are looking to good down some calories.

The topped pizza goes back in the oven for another 7-10 minutes (do you see a pattern here) or until it has reached desired bubbly crispyness.

There will definitely be another pizza dough recipe on here in the future, but this is a good standby!

Original post at http://www.mommiecooks.com/2010/06/07/perfect-pizza-crust/

Saturday, February 4, 2012

Comfort Food: Chicken Noodle Soup Casserole


Some days you just need a high-calorie, dense, creamy comfort food. This is one of those foods. LSH and I were in the mood for some warm edible comfort so I thought I would give this recipe a try. I came across a couple recipes for this type of dish, but the base that I used was from Bobby at blogchef. It seemed like it would provide the highest calorie of comfort with the most substance so we gave it a shot and altered it a little bit. So if you are in the mood for something easy and comforting, give it a try!

Time: 40-60 min
Ingredients
2-4 boneless skinless chicken breasts
6 ounces egg noodles (it's about half of a big bag of noodles)
1 can cream of mushroom soup
1 can cream of chicken soup (You can always use 2 cans of this instead of 1 of each. LSH hates mushrooms so that's what we did.)
1 cup sour cream
1-2 cup carrots, chopped
oil
salt and pepper
1/2 tsp turmeric (optional)
1-2 cups shredded colby jack cheese
1 cup crushed buttery crackers (like Ritz)
1/4 cup butter

If you do not have pre-cooked chicken, you can season the breasts with salt and pepper and throw them in a skillet with a bit of oil on medium heat. Flip the breasts once until they are fully cooked. Cut the chicken into small pieces or shred it. I think we did cubes more or less.

Preheat oven to 350.

 Cook the egg noodles according to the package. Drain them when they are done.

While the noodles cook, saute the carrots with a bit of oil in a skillet over medium heat. The goal is to tenderize them a bit. We didn't do this but it is a good idea to.

Once noodles are cooked and carrots are sauteed, mix together the two cans of creamed soup and cup of sour cream in a large bowl. Season the mixture with salt and pepper and turmeric if you want and any other desired seasonings. Toss in the carrots and the noodles and mix it up. Finally, toss in the chicken. At this point, you should have a large bowl of creamy deliciousness.

Lightly grease an 8x8 pan and dump the whole mixture in.

Melt the butter and stir in the crackers. These tasty little crumbles get put on top of the casserole with the desired amount of cheese. The crackers add an amazing salty, crunchiness.


Stick it all in the oven and cook for 30-35 minutes or until the casserole is cooked through and the topping is browned.

Let it cool a little bit then serve a big gloppy spoonful and relish in the comfort. :D
The original recipe says this serves 4, but that seemed ridiculous to LSH and I. We think it serves 5-6 people.


Original post at http://blogchef.net/chicken-noodle-casserole-recipe/

Monday, January 23, 2012

My Favorite Chocolate Chip Cookies


So there are a lot of different Chocolate Chip Cookies recipes and I'm sure many of you have tried lots of different ones; I know I have. I have several recipes that I like, but when I came across this recipe from Tessa at Handle the Heat, I knew I had found something special. The texture of these cookies is how all chocolate chip cookies should be. They are chewy and stay that way for a few days. I took a batch of these to school last year and several people told me these were the best cookies ever. I made them again recently and go similar reviews. LSH took some to law school and most of them were devoured quickly. One great thing about this recipe is that the dough really isn't that tasty. If you are like me, eating the raw cookie dough is a huge temptation. This dough is not that tempting and is much better saved for cooked cookies. :D

Time: 60ish minutes by the time you get them all baked
Makes about 4 dozen cookies
Ingredients
1 cup butter, softened
1 cup white sugar
1 cup brown sugar
2 eggs
2 tsp vanilla
1 tsp baking soda
2 tsp hot water
1/2 tsp salt
3 cups all-purpose flour
2 1/2 cups chocolate chips

Preheat oven to 350 F.

Cream together the butter and both sugars in a big bowl until smooth. Beat in the eggs one at a time and finish off with the vanilla.

Dissolve the baking soda in the hot water and add it to the batter. (I think this is the step that does something special to the texture of the cookies. I had never made a recipe that did this before.) Finally add the salt.

Stir in the flour one cup at a time using a heavy-duty spatula (I almost broke a plastic one doing this). Keep adding the flour until everything is incorporated. Once everything is mixed, add in the chocolate chips. The original recipe called for 2 cups, but I like a high ratio of chips to dough so I added some more.


Once chips are folded in, use a spoon or a spiffy cookie scoop to drop large globs of dough onto a parchment-lined baking sheet.


Leave some space between them because they will spread a bit.


Bake them for 10-12 minutes or until the middles are set and the edges are starting to brown. Let them sit on the pan for about 2 more minutes and then move them to a cooling rack.

Let them cool, or not, and enjoy with a tall glass of milk!


Original post at http://www.handletheheat.com/2011/05/classic-chocolate-chip-cookies.html

Monday, January 16, 2012

Gooey Chocolate Cookies and Cream Bars

I haven't baked in a long time so I have taken advantage of this long weekend to bake three different things! Two things I have made before, but this recipe is a new one. LSH and I were invited to a friend's house for dinner and he volunteered me to bring dessert. I love excuses to try new sweets! I decided to try Gooey Cookies and Cream Double Chocolate Cake Bars from Picky Palate. I have made a few things from this blog and they have all been good. I can't take credit for any of this recipe because I did not alter anything. It's delicious just as it is.

Time: 40 minutes
Ingredients
1 Devils Food Cake mix
1 stick of butter, softened
1 large egg
14 Oreos, broken into pieces 
1 14oz can sweetened condensed milk
1 1/2 cups chocolate chips


Preheat the oven to 350 and line a 9x13 pan with aluminum foil. Grease the bottom and edges of the foil really well. If you don't, the bars will never want to leave the foil.

Mix cake mix, stick of butter, and egg in a large bowl. You can use a spatula or spoon if you want, but it really is easier to use your hands. It's great stress relief and it feels cool.


Once it is mixed up, press the dough into the prepared pan. Again, you can use a spoon but hands work best.

Sprinkle the broken Oreos on evenly top of the prepared batter. Next open up the can of condensed milk and pour it over everything. This ingredient is what brings all this together for me. It gives the bars a caramel taste on top of the cookies and cream and chocolate. It's amazing.

Finally, sprinkle chocolate chips over everything.

Put it in the oven and let it bake for about 25 minutes or until the base is done. Now comes the tricky part...you must let it cool! If you absolutely can't wait, I suggest a spoon or else it will just fall apart. When it is cool you can carefully lift the foil out of of the pan. Carefully peel the foil away and cut bars into whatever size you want. Now try not to eat the whole pan!


Original post at http://picky-palate.com/2011/07/05/gooey-cookies-and-cream-double-chocolate-cake-bars/

Thursday, January 12, 2012

Cold Night Coconut Curry Soup

I've been wanted to make this recipe for a while because it just sounded good. Tonight was the perfect night for soup. It is absolutely freezing outside! This soup is warm, slightly thick, and has some heat. It was the best choice for tonight because it was very easy to make and came together quickly. This soup came from a blog I have already referenced once here. This soup came from Mel's Kitchen Cafe and I would definitely give it a try. I made some alterations to the recipe and it got even better. Oh, and there are pictures for this recipe! They aren't very good, because photography is not my thing, but there are pictures!

Time: 30-40 minutes
Ingredients
 2 Tbsp olive oil
 1 1/2 lbs chicken breast (2-3), cut into 1-inch pieces
 salt and pepper
1/2 chopped yellow onion
1 red bell pepper, chopped
2 cups chicken broth
1 can coconut milk
1/2 Tbsp fish sauce
1/8 tsp cayenne pepper
1 Tbsp brown sugar
1-1 1/2 Tbsp curry powder (depend on how much curry flavor you want)
1/2 Tbsp jalapeno curry powder (we used this and it was delicious)
1 Tbsp fresh lime juice
Salt and pepper to taste
3-4 cups hot rice

Heat the oil over medium heat in a large pot. Pat the chicken pieces dry and season them with salt and pepper while the oil gets nice and hot. When the oil is shiny, throw in the chicken pieces and let cook for 1-2 minutes, stirring a bit. Add in the bell pepper and onion and cook for 2-3 minutes until the veggies are tender. The chicken does not need to fully cook in this step.

Add the chicken broth, coconut milk, fish sauce, cayenne pepper, curry powder, and brown sugar. Stir it up and bring it to a simmer. Let the soup simmer gently for about 10-15 minutes or until the chicken is cooked through and the broth has thickened.

Stir in the lime juice. The original recipe called for a bit of cilantro but we don't typically keep that so I sprinkled in a bit of parsley on top. Serve the soup on top of a bit of hot rice and warm up!
 Original soup recipe at http://www.melskitchencafe.com/2011/01/coconut-curry-soup.html.
Check out this blog for great recipes!